This guide provides a straightforward, step-by-step process for setting up your mirrorless camera for the first time, making it easy for beginners to get started. It covers essential tasks such as inserting the battery and memory card, adjusting the settings for optimal performance, and familiarizing yourself with the camera’s features. By following these steps, you’ll be well-prepared to explore the capabilities of your mirrorless camera and capture high-quality images with confidence.


Photography Essentials in Just 10 Minutes
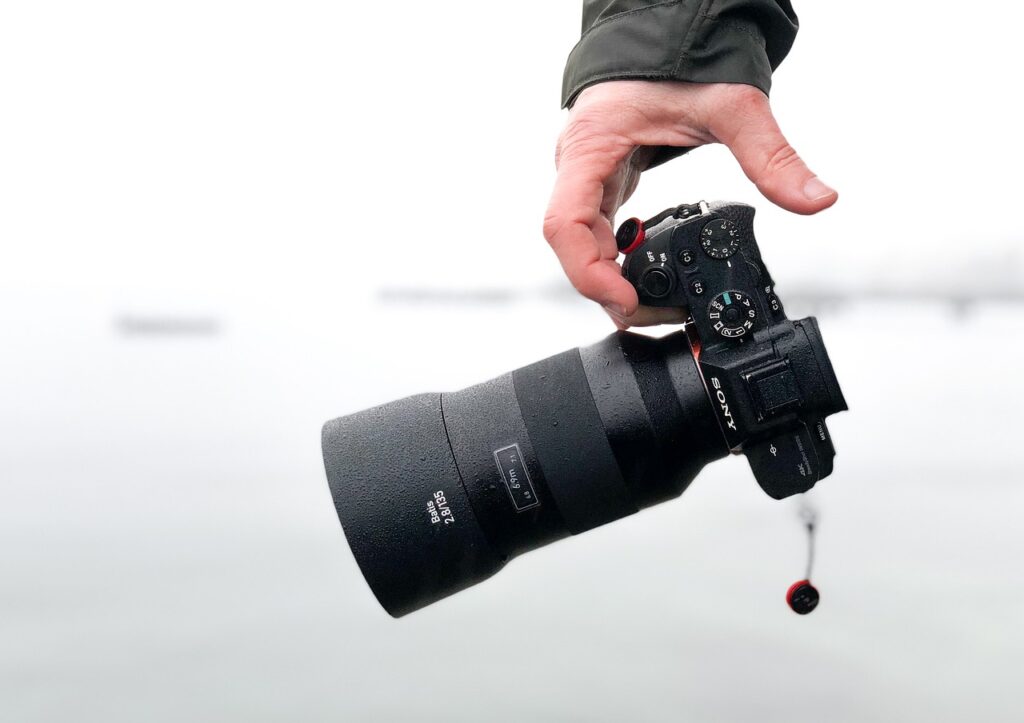
Unboxing and Initial Setup
Carefully unbox your mirrorless camera and its accessories. Examine the packaging for all components before discarding any materials. Ensure you have:
- Camera body
- Lens
- Battery
- Charger
- User manual
Inspect each item for damage or missing parts. Place the camera body on a soft surface to avoid scratches. Remove protective caps from the lens and camera mount, then insert the battery into the camera. Follow the instructions in the user manual for proper insertion. Align the battery contacts with the connection points inside the camera.
Connect the lens by aligning the mounting index on the lens with the index on the camera body. Rotate the lens until it clicks into place, signaling a secure fit. Refer to the user manual for specific details on attaching your lens model, as some designs may vary. Once connected, check that everything is securely in place before proceeding to power the camera on.


Charging the Battery
Fully charge the battery before using your camera for the first time. Connect the battery firmly to the charger, ensuring it seats securely in place. Locate an appropriate power source, such as an electrical outlet, and plug the charger into it. Observe the indicator light on the charger; it usually signals the charging status. Wait patiently for the battery to charge completely, as this process typically takes a few hours. Refer to the user manual for precise charging times specific to your model to avoid overcharging or undercharging.
Once the battery has reached a full charge, disconnect the charger from both the battery and the power source. Store the charger in a safe place for future use, as you will need it whenever the battery requires recharging. Ensure the battery is clean and free of debris before inserting it back into your camera. Slide the battery into the camera’s compartment, following the orientation arrows usually marked on the battery and the camera itself. Secure the compartment door properly to ensure your camera operates efficiently without any interruptions during use.
Inserting the Memory Card
Select a compatible memory card for your mirrorless camera. Check the camera manual or the manufacturer’s website to identify the recommended types and capacities of memory cards, typically SD, SDHC, or SDXC. Purchase a card that fits within these specifications and offers sufficient storage for your photography needs. Look for cards with fast read and write speeds, particularly if you plan to capture high-resolution images or video. Once you’ve acquired the appropriate card, ensure that it is free from physical damage before proceeding with insertion.
Open the memory card slot on your camera, which is usually located on the side or bottom. Slide the card into the slot, aligning the metal contacts on the card with those in the slot. Press down on the card gently until you hear a click, indicating that it securely locks into place. Access the camera’s settings menu to format the memory card correctly, as formatting prepares the card for use and can help avoid errors. Follow the prompts to select the format option, confirming any warnings that indicate data will be erased, if applicable.
Adjusting Camera Settings
Turn on your camera and locate the settings menu. Press the designated button, usually marked with a gear icon, to access the menu options. Scroll down using the navigation buttons and select “Date & Time.” Set the current date and time to ensure accurate timestamps on your photos. Next, return to the main settings menu and select “Language.” Choose your preferred language from the available options to make navigation easier. Move to the “Image Quality” settings to adjust according to your requirements. For example, higher settings like “Fine” or “RAW” improve image quality but consume more storage space, while “Normal” settings are sufficient for everyday snapshots.
Explore the various shooting modes available on your camera to enhance your photography experience. Look for options such as Portrait, Landscape, Macro, or Night mode as you navigate through the shooting modes. Each mode optimizes camera settings to suit specific scenarios. For instance, select “Portrait” mode for capturing stunning, blurred backgrounds in images or “Night” mode for brighter photos in low-light conditions. Familiarize yourself with these modes and their respective icons, as they will help you capture the best images in different environments. Experiment with switching between modes to see how they affect your photos and make adjustments according to your shooting needs.
Testing and Practice
Take a few test shots in various lighting conditions to ensure everything is functioning correctly. Start by setting your camera to an automatic mode, which will allow you to familiarize yourself with its basic operations without the pressure of manual adjustments. Capture images of a simple subject, such as a plant or a piece of furniture, both indoors and outdoors. Afterward, review the photos on your screen, paying attention to exposure, focus, and color balance. This initial step not only checks the camera’s functionality but also gives you a solid reference point for future adjustments.
Experiment with different settings and modes to get a feel for how your camera operates. Switch to manual mode and adjust the ISO, aperture, and shutter speed to understand their effects on your images. For example, lower your ISO for a bright environment and increase it in darker settings. Take shots at different apertures to see how depth of field affects the image sharpness. Additionally, try experimenting with scene modes like portrait, landscape, or night settings; these will help you identify which scenarios benefit from specific configurations. As you practice, you’ll begin to develop an intuitive grasp of your camera’s functions, allowing you to capture more dynamic and compelling images.
Final Tips for Success
In conclusion, setting up your mirrorless camera for the first time doesn’t have to be daunting. By carefully unboxing your equipment, ensuring the battery is charged, inserting your memory card, and adjusting the necessary settings, you lay a solid foundation for your photography journey. Remember, practice is key to mastering your camera and unleashing its full potential. With these steps in mind, you’re now ready to capture stunning images and embark on exciting photographic adventures. Happy shooting!
Essential Gear List


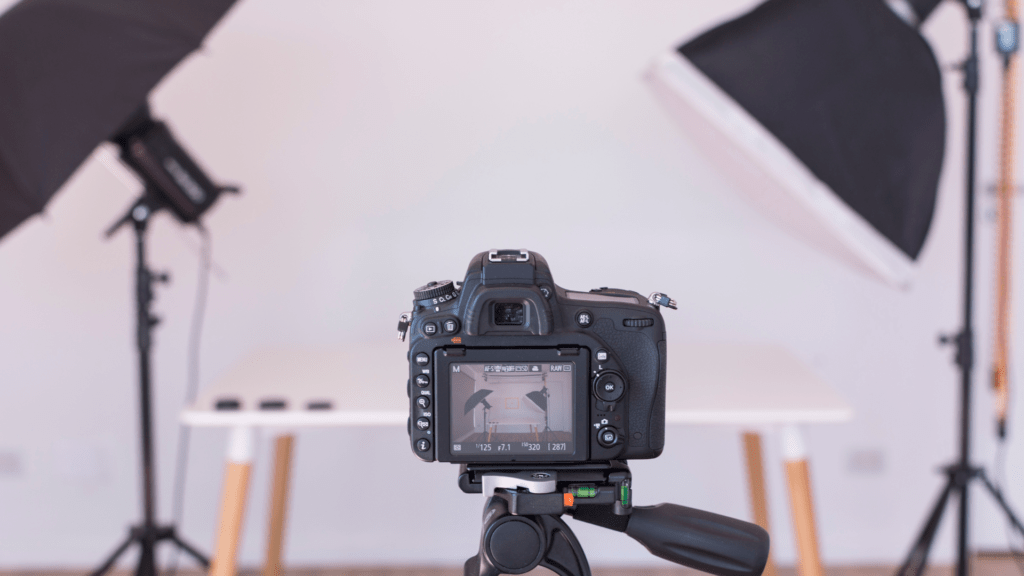
Essential Setup Guide
Mastering Your Mirrorless Camera: Essential Tips for Optimal Use
- Understand the Basics of Your Camera: Familiarize yourself with the camera’s controls, buttons, and settings. Read the user manual to learn about the different modes and features available
- Learn About Lenses: Explore the different types of lenses compatible with your mirrorless camera. Start with a versatile zoom lens, then experiment with prime lenses for specific styles of photography
- Master Composition Techniques: Practice the rule of thirds, leading lines, and framing to enhance your photos. Take time to study various compositions to see what resonates with your style
- Experiment with Manual Settings: Move beyond automatic mode and delve into manual settings like aperture, shutter speed, and ISO. This will give you greater creative control over your images
- Utilize Post-Processing Software: After capturing your images, use editing software like Adobe Lightroom or Photoshop to enhance your photos. Learning basic editing techniques can significantly elevate your final output
Essential Queries About Mirrorless Cameras
The importance of sensor size in mirrorless cameras lies in its direct impact on image quality, depth of field, and overall performance. Larger sensors generally gather more light, which allows for better image quality, especially in low-light conditions. This enhanced light-gathering ability can lead to reduced noise and improved dynamic range, enabling the camera to capture finer details in both highlights and shadows.
Additionally, a larger sensor allows for greater control over depth of field. This means I can achieve a more pronounced bokeh effect, which is often desired for portrait photography, where a blurred background can help to isolate the subject.
Furthermore, the size of the sensor also influences the camera’s field of view and focal length equivalence. In practical terms, this affects the types of lenses that can be used and the resulting composition possibilities. For example, a full-frame sensor offers a wider field of view compared to an APS-C or micro four-thirds sensor, affecting how I approach various types of photography.
In summary, sensor size is a critical factor in determining the performance and versatility of mirrorless cameras, influencing everything from image quality and low-light performance to depth of field and composition options.
I love how you simplified the settings. Photography can be so overwhelming at first!
This article is a lifesaver! I’m excited to take my first real photos. 😊
Anyone else struggle with autofocus? Would love some extra advice on that!
Thanks for breaking down the basics! Can’t wait to try out the different lenses.
Great tips! I just got my first mirrorless camera and this helped a ton!