This step-by-step guide to using compact cameras for travel photography highlights the advantages of these lightweight and user-friendly devices, making them ideal for capturing memorable moments on the go. The guide covers essential tips for selecting the right settings, optimizing composition, and utilizing natural lighting to enhance your photos. It also includes advice on maintaining and protecting your camera while traveling, ensuring you can take stunning images effortlessly. With these practical strategies, you’ll be well-equipped to elevate your travel photography experience.


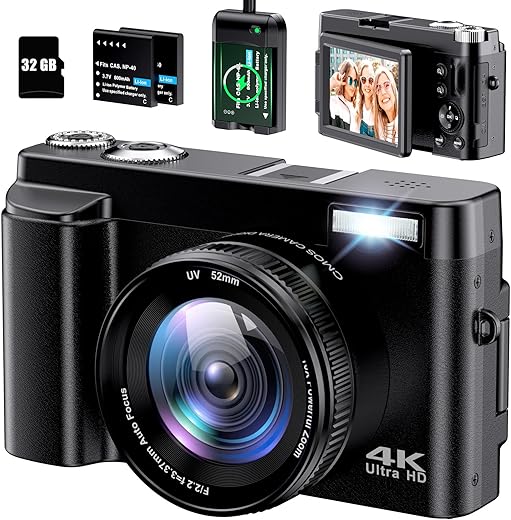
Top Travel Camera: Sony RX100 M6
Choose the Right Compact Camera
Explore various compact camera options by comparing image quality metrics such as sensor size and megapixel count. Look for models like the Sony RX100 series, which is known for its impressive low-light performance and detailed shots. Evaluate zoom capabilities by assessing both optical and digital zoom, considering the Fujifilm XF10 for its excellent image quality with an extended focal range. Prioritize user-friendly features such as touchscreen interfaces and intuitive controls, as seen in the Canon G7 X Mark III, which enhances the overall shooting experience.


Familiarize Yourself with the Camera Settings
Explore your camera’s user manual to gain a thorough understanding of its controls and settings. Adjust parameters like exposure by experimenting with the aperture and shutter speed, allowing you to see how they affect your images in varying light conditions. Familiarize yourself with ISO settings; for example, increase the ISO in low-light environments to capture clearer photos, but be aware this may introduce noise. Modify the white balance depending on your shooting environment—use the daylight setting outdoors in sunny conditions, or switch to tungsten when shooting under artificial light to achieve accurate color representation.
Practice Shooting in Different Lighting Conditions
Take your camera outside and experiment with various lighting situations. Consider the following steps:
- Explore bright daylight environments, adjusting your aperture and shutter speed to prevent overexposure.
- Visit shaded areas or cloudy days to observe how the camera captures colors and details.
- Venture out during golden hour, just after sunrise or before sunset, to appreciate the warm tones and soft light.
- Challenge yourself in low-light situations, like twilight or indoors, experimenting with higher ISO settings and longer exposures to avoid graininess.
By actively engaging with your camera in these different scenarios, I gain valuable insights into its performance and how to adjust settings to achieve the desired results.
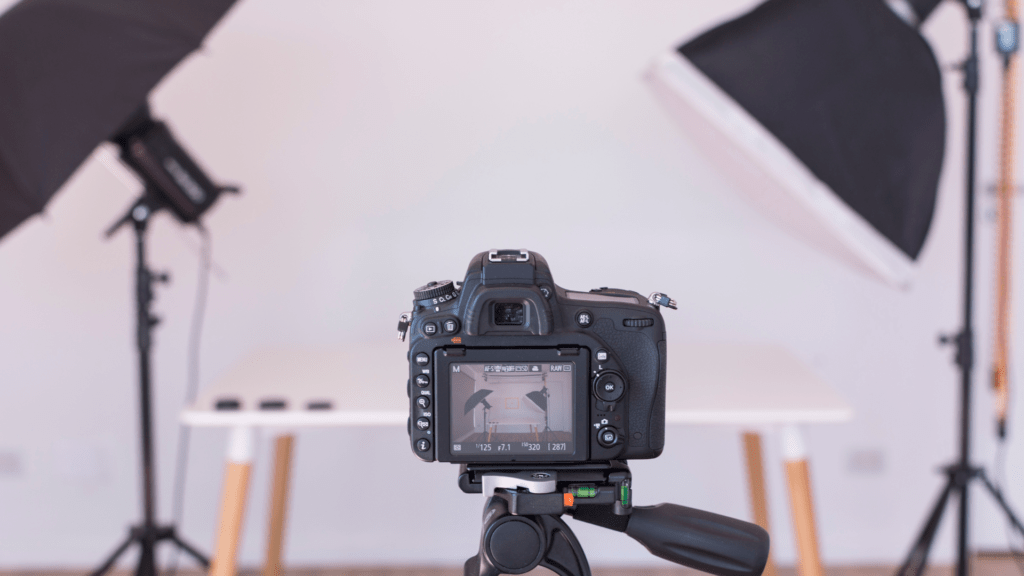
Use the Right Accessories
Pack essential accessories like extra batteries and memory cards to avoid running out of power or storage during shoots. Carry a tripod for stability, especially in low-light situations or when capturing long exposures. Include a lens cleaning kit to ensure your equipment remains free of dust and smudges, allowing for clear, high-quality images. Always double-check your gear before heading out to ensure you have everything you need for any shooting scenario.
Plan Your Shots
Research scenic spots and potential subjects before arriving at your destination. Use online resources such as Google Maps, travel blogs, or photography forums to identify picturesque locations in the area. For example, if you’re visiting a national park, look for popular viewpoints, waterfalls, or unique rock formations that provide striking backdrops for your shots.
Envision the compositions you want to capture and create a mental plan. Consider different angles and perspectives—such as shooting from a low angle to make a flower appear larger than life or framing a landscape using natural elements like trees or rocks. Jot down your ideas in a notebook or app so they’re readily accessible during your shoot, making it easier to execute your vision when you arrive.
Explore Different Angles and Perspectives
- Experiment with low angles by kneeling or lying on the ground to capture subjects from a unique viewpoint. This technique can create a sense of grandeur or importance, especially when photographing tall structures or people.
- Utilize high angles by standing on a chair or a platform. This perspective can lead to interesting compositions that highlight patterns, textures, or silhouettes, making your photographs feel more expansive.
- Try different focal lengths by using zoom or wide-angle lenses. A wide-angle lens can exaggerate perspective, while a zoom lens allows you to isolate details from a distance, creating a sense of intimacy or drama.
- Incorporate leading lines by positioning yourself at an angle that directs the viewer’s eyes into the image. For example, shooting along roads, pathways, or architectural elements can create depth and draw attention to your subject.
Use Natural Light to Your Advantage
- Plan your shoots for the golden hour, which occurs shortly after sunrise or just before sunset.
- Observe how the light casts a soft, warm glow that enhances colors and textures in your photos.
- Position your subjects to take advantage of this natural light, creating interesting shadows and dynamic compositions.
- Adjust your camera settings to accommodate the softer light, ensuring greater exposure to capture the beautiful tones of the golden hour.
Be Mindful of Composition
Utilize the rule of thirds by dividing your frame into a grid of nine equal parts and placing the subject along the lines or intersections to create balance. Incorporate leading lines by finding natural lines in your environment that guide the viewer’s eye towards the focal point of the image. Apply framing techniques by using elements in the foreground to encase your subject, which draws attention and adds depth. Experiment with these techniques to increase the visual appeal and interest of your photographs.
Edit Your Photos
Open your preferred photo editing software or app. Import the images you want to enhance. Adjust the brightness to lighten shadows or darken overexposed areas as necessary. Modify the contrast to make the details pop and create a more dynamic image. Tweak the color balance to ensure that colors appear natural and vibrant, correcting any unwanted tones. Save your edits regularly to prevent losing any changes.
Share Your Work
Showcase your travel photography on social media platforms like Instagram or Facebook by posting your best shots regularly. Create a blog where you can share detailed stories behind each image, giving your audience insight into your experiences and the emotions you felt during your travels. Print your favorite photographs and consider entering local art fairs or galleries to reach a broader audience. Engage with your followers by asking for their feedback or inviting them to share their travel experiences, fostering a two-way conversation that keeps them invested in your work.
Capturing Memories on the Go
In conclusion, using a compact camera for travel photography offers a perfect blend of convenience and quality. By embracing the techniques outlined in this post, I can enhance my photography skills and capture stunning images that reflect my experiences. As I venture into new destinations, I will remember to practice, explore, and most importantly, enjoy every moment of the journey. Happy shooting!
Essential Gear Checklist


Mastering Compact Photography
Mastering the Essentials: Navigating Your Compact Camera for Stunning Photography
- Familiarize Yourself with the Controls: Before you start taking pictures, take some time to understand the buttons and settings on your compact camera. Refer to the user manual to learn about the different modes and features available
- Start with Auto Mode: As a beginner, I recommend starting in Auto Mode, which allows the camera to automatically adjust settings like exposure, focus, and ISO. This way, I can focus on composition without worrying about technical details
- Experiment with Composition: To improve my photography skills, I can practice the rule of thirds by imagining a grid on my viewfinder and placing the main subjects along the lines or at the intersections. This helps me create more balanced and interesting photos
- Use Natural Light: Whenever possible, I strive to use natural light for my photos, as it can enhance the quality of my images. I try to shoot in softer lighting conditions, such as early morning or late afternoon, to avoid harsh shadows
- Practice Regularly: The more I use my compact camera, the more comfortable I become. I set aside time to explore different settings and subjects, which helps me develop my skills and discover my personal style
I never thought about using manual settings on my compact! Gonna give that a shot next trip. Thanks!
Totally agree about the importance of composition! Sometimes less is more when you’re snapping pics.
Great tips! I love my compact camera for travel, it’s so easy to carry around!
The advice about lighting is spot on! Can’t believe how much a little natural light can change a pic.