In this step-by-step guide, “How to Take Long Exposure Shots with Sony Alpha a7 III,” we will explore the essential techniques and settings to unlock the full potential of this remarkable mirrorless camera. Renowned for its impressive performance across a range of photography styles, the Alpha a7 III is particularly adept at capturing the artistry of long exposure photography. Whether you’re a novice eager to learn or an experienced photographer looking to refine your skills, this guide will walk you through each stage, ensuring you achieve breathtaking long exposure images with ease.
Comprehensive Guide to Long Exposure Photography: Camera Settings and Tips for the Sony a7iii
Gather Your Equipment
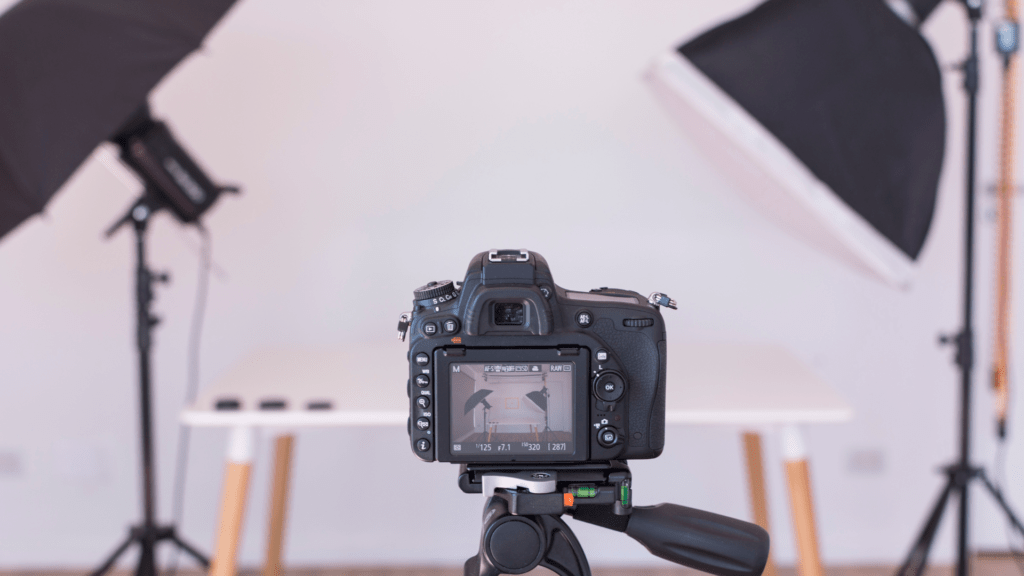
Gather your necessary equipment before starting your shoot. Ensure you have the Sony Alpha a7 III camera ready for use, as it offers excellent image quality and versatility. Secure a sturdy tripod to provide stability during longer exposures and prevent camera shake. Check for an ND filter, which can be invaluable for controlling light and achieving desired effects; if available, have it ready to attach. Finally, keep a remote shutter release or set your camera timer to eliminate any potential camera vibration when pressing the shutter button.
Set Your Camera to Manual Mode
Switch your camera to Manual (M) mode by locating the mode dial on the top of your camera and turning it to the “M” setting. Adjust the shutter speed by rotating the corresponding dial, allowing you to control how long the shutter remains open. Change the aperture by adjusting the lens ring or using a dedicated control dial, enabling you to manage the depth of field. Modify the ISO setting through the camera’s menu or a quick-access button, allowing you to adapt to different lighting conditions seamlessly.
Adjust ISO Settings
- Set your ISO to the lowest possible value, typically ISO 100.
- Minimize noise by avoiding higher ISO settings, which can lead to grainy images.
- Use higher ISO settings cautiously; they may be necessary in low-light situations but can compromise image quality.
- Adjust ISO in tandem with your shutter speed and aperture for optimal exposure, especially in long exposure shots.
Select Your Aperture
Choose a smaller aperture, typically between f/8 and f/16, to enhance depth of field in your images. Adjust your camera settings accordingly, ensuring you select a higher f-stop number for increased sharpness across the entire scene. Focus on the foreground and background elements while capturing landscapes, as this range will help maintain clarity throughout. Remember to compensate for light exposure by adjusting shutter speed or ISO, as smaller apertures allow less light to reach the sensor.
Determine Shutter Speed
Select a slower shutter speed to achieve desired artistic effects in your photography. Start with a few seconds and test different durations to see what works best for your scene. Experiment with longer exposures to create smooth, flowing effects, particularly when capturing water or clouds; this technique gives motion a mystical quality. Use a tripod to stabilize your camera during these extended exposures, minimizing any unwanted camera shake. Adjust your settings based on the light conditions and the specific ambiance you wish to convey.
Use an ND Filter (Optional)
Attach a neutral density (ND) filter if shooting in bright daylight or when capturing water movement like waterfalls and rivers. This filter reduces the light entering your lens, enabling you to use slower shutter speeds that can create smooth, dreamy effects in your images. For instance, when shooting a flowing river during midday, a 6-stop ND filter allows you to achieve a longer exposure of 1 or 2 seconds without overexposing the highlights. Simply screw the filter onto the front of your lens, adjust your camera settings to accommodate the change in light, and start experimenting with different exposure times to see the unique results.
Stabilize Your Camera
- Mount your camera securely on a sturdy tripod.
- Check that the tripod legs are fully extended and locked in place.
- Adjust the tripod feet to ensure it is stable and level on the surface.
- Position the camera at the desired height and angle for your composition.
- Tighten all knobs and levers to eliminate any possible movement during the exposure.
Set Up the Shot
- Compose your shot by framing your subject within the viewfinder or screen, ensuring that the background complements your main focus without distractions.
- Adjust the focus on your subject manually if necessary, preventing the camera from refocusing unintentionally during the exposure.
- Utilize your camera’s live view feature for precise focusing; this enables you to zoom in on the subject for greater detail and accuracy.
- Ensure that the focus is locked in before taking the shot, creating a sharp image that highlights your intended subject effectively.
Take the Shot
Use a remote shutter release or the camera’s timer function to capture your shot. Set up the camera on a stable surface or tripod to avoid any camera shake. Activate the remote or timer, then press the button to take the shot without physically touching the camera. Afterward, review the image carefully on your display screen or computer. Make adjustments to your settings, such as exposure or aperture, based on what you see to ensure better results in your next shots.
Mastering Long Exposure Techniques
In conclusion, mastering long exposure photography with the Sony Alpha a7 III opens up a world of creative possibilities. By understanding the essential settings, utilizing the right equipment, and experimenting with various techniques, I can enhance my photography skills and produce striking images that reflect my artistic vision. With practice and patience, I am confident that I can achieve breathtaking results that capture the beauty of the world in motion.
Essential Gear List
Mastering the Technique
Step-by-Step Guidance for Maximizing Your Sony Alpha a7 III Experience
- Familiarize Yourself with the Camera: Start by reading the manual and getting to know the layout of the camera, including the buttons, dials, and menus. This will help you navigate settings and functions more effectively
- Set the Camera to Auto Mode: To ease into photography, begin by using the Auto mode. This will allow the camera to make decisions about exposure, focus, and other settings, enabling you to focus on composition without being overwhelmed by technical details
- Explore Different Shooting Modes: Once comfortable, experiment with different shooting modes such as Aperture Priority (A), Shutter Priority (S), and Manual (M). This will give you a better understanding of how different settings affect your images
- Practice Using Manual Focus: While the autofocus is excellent, practicing manual focus can enhance your skills, especially in tricky lighting situations or when shooting subjects with fine detail
- Learn About Composition: Take time to learn and practice the basics of composition, such as the rule of thirds, leading lines, and framing. Good composition can significantly improve your photographs, regardless of your camera settings
Your Questions Answered: Sony Alpha a7 III Insights
The Sony Alpha a7 III offers several connectivity options to cater to various needs. It features a USB 3.1 Type-C port for fast data transfer and charging, as well as a micro HDMI output for connecting to external displays. For audio, there is a 3.5mm microphone input and a headphone jack for monitoring audio during recording. Additionally, the camera supports Wi-Fi and NFC for seamless wireless connectivity and remote control capabilities. Overall, these connectivity options enhance the versatility and functionality of the Alpha a7 III.
The Dual Card Slot feature in the Sony a7 III significantly enhances performance for photographers by providing added flexibility and security in data management. With two slots that support both SD UHS-I and UHS-II cards, I can choose to record separate JPEG and RAW files to different cards, ensuring that I have immediate access to smaller file sizes while maintaining high-quality RAW images for post-processing. This setup not only allows for efficient workflow but also helps prevent data loss; if one card becomes corrupted, my images on the other card remain safe. Additionally, I can take advantage of the overflow recording feature, which automatically switches to the second card once the first one is full, enabling me to shoot continuously without interruption. Overall, this feature is invaluable for professional photographers who require reliability and versatility during shoots.


Love my A7 III! These settings are gonna take my night photography to the next level. Thanks!
Great tips! I never thought about using a ND filter for long exposures. Can’t wait to try it out!
Super helpful article! I always struggle with shutter speed, but now I feel more confident. Cheers!