In this step-by-step guide, “How to Care for an Action Camera After Use,” we will outline essential practices to maintain and enhance the longevity of your action camera. Designed for adventure seekers and content creators alike, these robust devices require specific care to function effectively in diverse conditions. From cleaning and storage tips to battery maintenance and software updates, this guide will equip you with the knowledge to keep your action camera in peak condition, ready for your next thrilling escapade.


11 Common Mistakes That Every GoPro Beginner Makes
Turn Off the Camera
Power off your action camera before starting any cleaning or maintenance. Remove the battery if applicable to ensure it cannot be accidentally turned on. Check that all connections are secure and that any external attachments are safely detached. This precaution prevents accidental recordings or potential damage during your cleaning process.


Remove Accessories
Remove any accessories such as mounts, lenses, and filters from your device. This step is crucial as it allows for a more thorough cleaning and gives you access to areas that may be obstructed by these attachments. Inspect each accessory for any dirt or damage before setting them aside, as this will help prevent any potential harm to them during the cleaning process. Ensure that all components are securely detached before proceeding with the cleaning regimen.
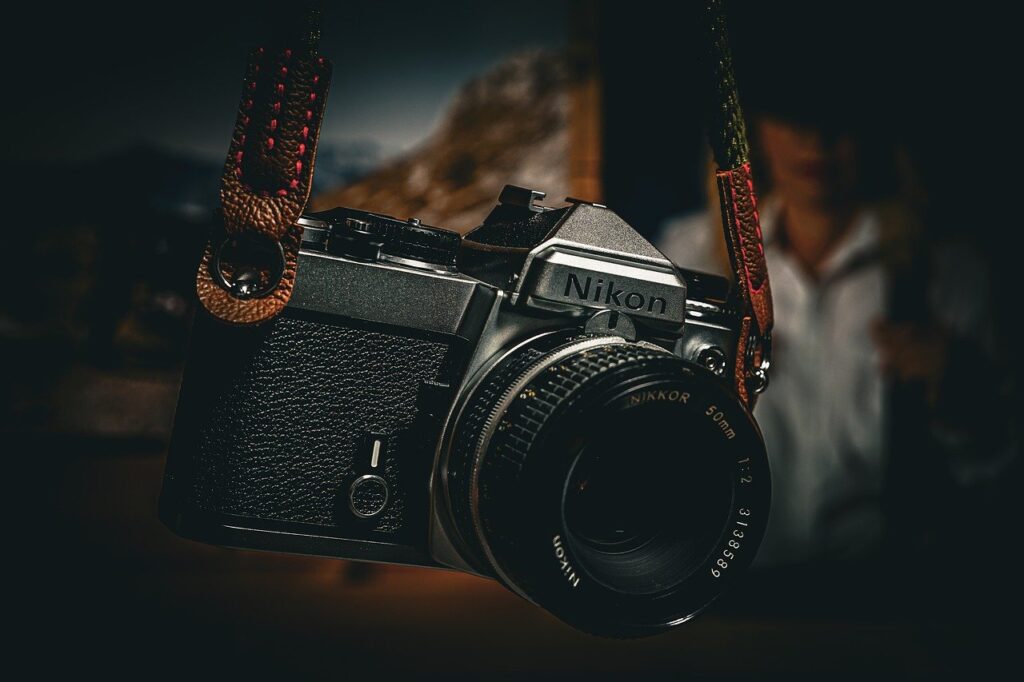
Clean the Exterior
Wipe down the outside of the camera using a soft, lint-free cloth to remove any dust or fingerprints. For stubborn dirt that doesn’t come off easily, slightly dampen the cloth with water or a mild cleaning solution, ensuring it’s not soaking wet. Avoid using harsh chemicals, as they can damage the finish and internal components of the camera. Take care to clean around buttons and seams for a thorough clean without causing any harm.
Check for Water and Dust
Inspect the camera carefully for any signs of water or dust intrusion. Look closely at all seals and flaps—ensure they are intact and free from any debris. For example, when examining the lens cover, make sure that it closes securely without any gaps. If you notice any dirt or water residue, gently clean the affected areas with a soft, dry cloth. Regularly check these components, especially after exposure to challenging environments, such as sandy beaches or rainy conditions, to maintain the camera’s waterproof functionality.
Remove the Battery
Remove the battery from the camera to prevent any potential corrosion due to moisture exposure. Place the battery in a cool, dry area, away from direct sunlight and extreme temperatures, ensuring it remains safe until you are ready to use the camera again. Check the battery for any signs of damage or leakage before storing it, as this can help prevent issues when you reconnect it in the future. Always ensure that the battery contacts are clean and free from any residue before reinstallation.
Clean the Lens
Apply a few drops of lens cleaning solution onto a clean microfiber cloth. Gently wipe the lens in a circular motion, starting from the center and moving outward. Avoid using excessive pressure to prevent scratching the surface, which can degrade the image quality. Ensure that the cloth remains clean and free from debris to achieve the best results.
Store Properly
Place the camera inside a protective case or bag designed for camera equipment. Ensure that the case or bag is padded to absorb impacts during transport. Store the camera in a location that is consistently dry and shielded from direct sunlight, as this helps prevent moisture damage and UV exposure. Regularly check the storage area for humidity levels and consider using silica gel packets to maintain dryness if necessary.
Check Firmware Updates
Check the manufacturer’s website or the camera’s companion app for any available firmware updates. Download the latest firmware version and follow the provided instructions to install it on your action camera. Ensure that your camera is fully charged or connected to a power source during the update process. Regularly updating the firmware enhances functionality and provides access to new features that improve your overall experience.
Review Footage
Review the footage carefully, checking for clarity, framing, and audio quality. Look for any missed shots or unexpected interruptions that may require additional attention. Back up your files immediately after review to multiple storage devices or cloud storage to ensure data security. Verify that all backups are complete and accessible, providing peace of mind against potential data loss.
Essential Maintenance Tips
In conclusion, taking the time to properly care for your action camera after each use is crucial for preserving its performance and extending its lifespan. By implementing the steps outlined in this post, I can ensure my camera remains in top condition, ready for every adventure that comes my way. Prioritizing maintenance will not only enhance my shooting experience but also protect my investment for years to come.
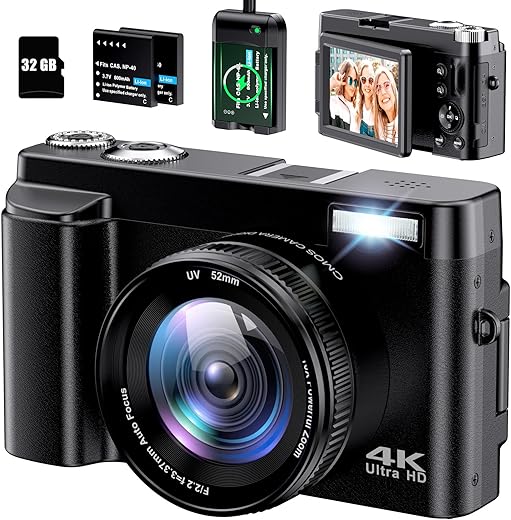
Essential Gear List


Maximize Longevity
Maximize Your Adventure: Tips for Optimal Action Camera Usage
- Understand Your Camera Settings: Familiarize yourself with the various shooting modes and settings of your action camera. Experiment with resolution, frame rate, and field of view to determine what works best for your intended activities
- Stabilization Techniques: Learn how to use built-in stabilization features, if available, to ensure smooth footage. Additionally, practice holding the camera steady or using mounts and gimbals to minimize shake
- Choose the Right Mounts and Accessories: Select appropriate mounts and accessories based on your activity, such as helmet mounts for biking or chest mounts for skiing. This enhances the versatility of your action camera and adds creative angles to your shots
- Plan Your Shots: Before starting your adventure, think about the key moments you want to capture. Storyboarding your shots or visualizing different angles can help you make the most of your camera’s capabilities
- Post-Processing Basics: Get acquainted with basic video editing software to compile and edit your footage. Learn how to trim clips, add music, or apply filters to enhance your videos for sharing and viewing
Everything You Need to Know About Action Cameras
To edit and share footage captured with an action camera, I usually follow these steps:
- Transfer the Files: First, I connect the action camera to my computer using a USB cable or remove the microSD card and use a card reader to transfer the footage to my computer or mobile device.
- Choose Editing Software: Next, I select video editing software that suits my needs. Options range from basic applications like iMovie or Windows Video Editor to more advanced programs like Adobe Premiere Pro or Final Cut Pro. Some action cameras also come with their own editing software, which I sometimes find convenient.
- Import the Footage: After selecting the software, I import the footage. This usually involves dragging and dropping files or using an import function within the software.
- Edit the Video: I then proceed to edit the video, which may include trimming clips, combining multiple shots, adding transitions, applying effects, and incorporating background music or narration. I typically make sure to enhance the audio and stabilize the video if necessary.
- Export the Final Cut: Once I’m satisfied with the edits, I export the video in a suitable format (such as MP4, MOV, etc.) that balances quality and file size. I usually choose settings optimized for the platform where I intend to share the video.
- Share the Footage: Finally, I share the edited footage through various platforms. I can upload it directly to social media sites like YouTube, Instagram, or Facebook, or share it via cloud services like Google Drive or Dropbox, or even send it through email.
By following these steps, I ensure that my action camera footage is both polished and easily shareable.
Yes, action cameras can definitely be used for underwater photography, and there are a few important requirements to consider.
First, it is essential to ensure that the action camera is waterproof or comes with an appropriate waterproof housing or case. Many action cameras are designed for use in wet conditions and can typically withstand depths of 10 to 30 meters (33 to 100 feet) without additional housing; however, for deeper dives, a specialized waterproof case is necessary.
Additionally, I recommend checking the camera’s specifications regarding underwater capability, as factors such as image quality, lens distortion, and low-light performance can vary when shooting in underwater environments. Proper settings may also need to be adjusted, as photography conditions change significantly underwater.
Finally, using filters can enhance image quality by correcting color loss that occurs underwater, particularly at greater depths. Therefore, to effectively use an action camera for underwater photography, ensure that it is waterproof, consider additional housing for deeper dives, pay attention to its specifications, and possibly use filters to achieve the best results.
I wish I had read this before my last trip! My camera got all sandy and now it’s not working as well. Lesson learned!
Great tips! I always forget to clean the lens, and then my videos end up looking cloudy. Thanks for the reminder!
I love taking my action cam on adventures, but I never know how to store it properly. This article is super helpful!